


The Ultimate Guide to Applying Veneer Edge banding Like a Pro
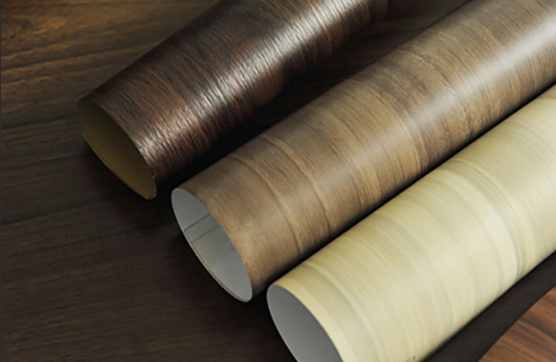
Veneer Edge banding is a revolutionary technology in woodworking that turns ordinary boards into beautiful pieces that resemble real wood. This technology is essential for anyone looking to elevate their projects with a polished, professional finish. In this guide, we’ll walk you through the steps to effectively apply veneer edgebanding, ensuring a smooth, durable result every time.

Tools and Materials Needed
Before you begin, gather the following tools and materials to make your job easier and more precise:
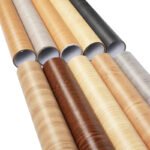
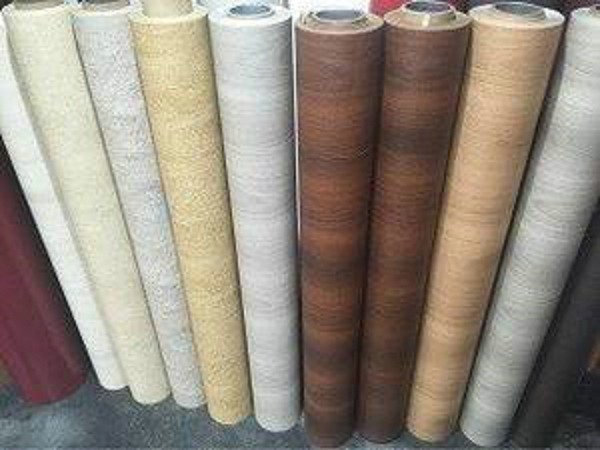
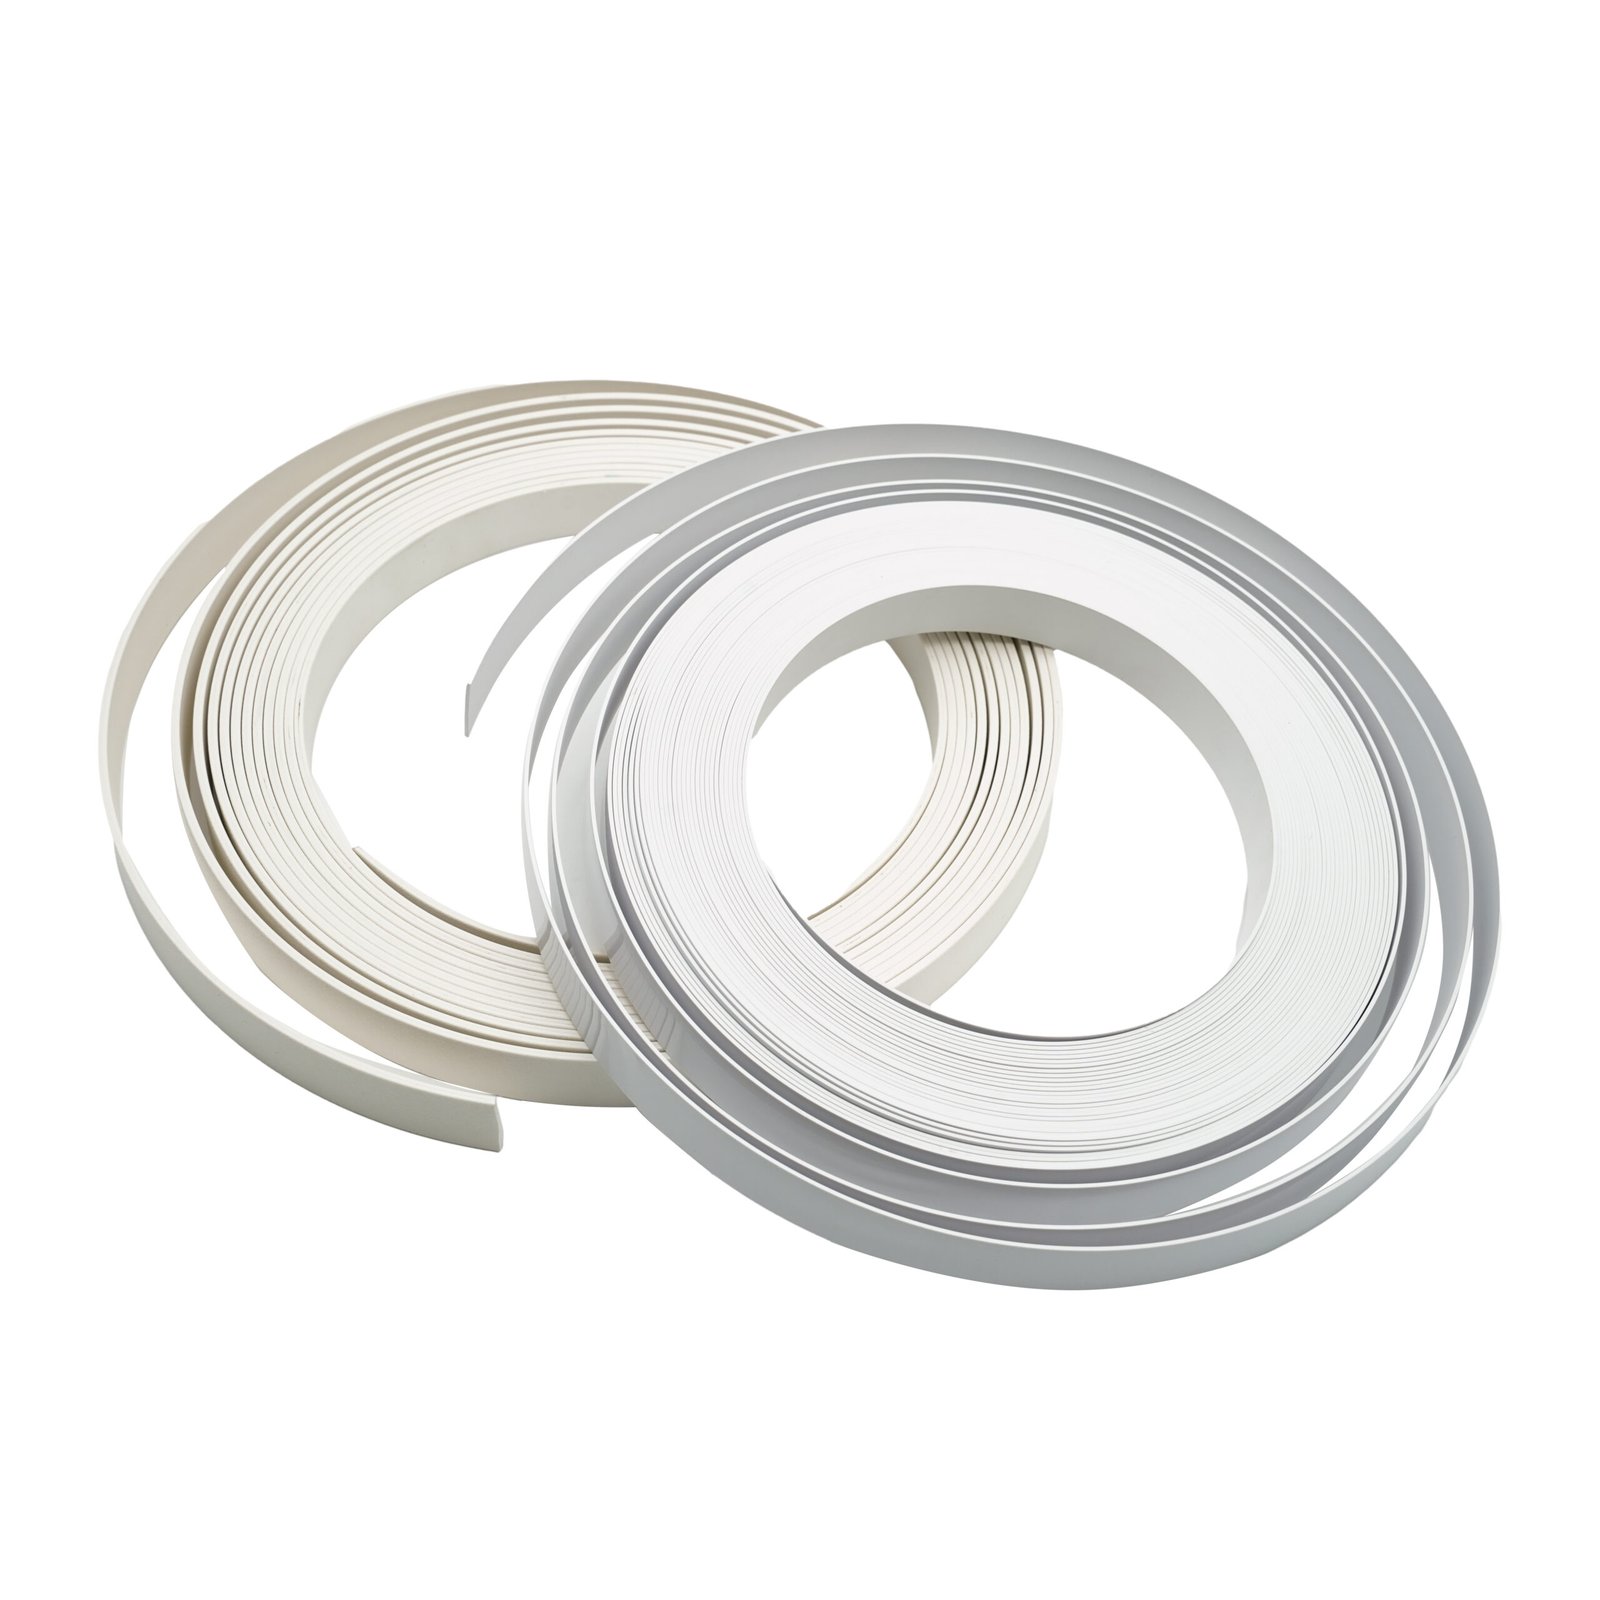
- Veneer edgebanding: Choose the right size and finish for your project.
- Iron or edgebander: Irons are great for DIY projects, while edgebanders offer greater efficiency for larger jobs.
- Utility knife: For trimming excess strips.
- Wood adhesive (optional): For some types of edgebanding.
- Sandpaper and trimmers: For a smooth finish.
Having the right tools on hand can make the process easier and increase the precision of your work.
Prepare the surface
First make sure the wood surface is smooth, clean, and free of dust or debris. Any imperfections will affect the adhesion of the edgebanding, so take the time to prepare it carefully. If needed, lightly sand the edge where the edgebanding will be applied to create an ideal bonding surface.
Cut the Edgebanding
Measure the edge banding and cut it slightly longer than the edge of the board. The extra length allows for precise trimming later and ensures complete coverage without any gaps.
Apply Adhesive
If you are using pre-glued edgebanding, apply moderate heat along the edgebanding with an iron to activate the adhesive. For non-glued types, apply a thin, even coat of wood adhesive to the edgebanding or wood edge according to the product instructions.

Press and Clamp
Once the adhesive is activated, press the edgebanding firmly onto the edge of the board. If needed, you can use clamps to hold it in place while the adhesive cures. After the adhesive cures, use a utility knife or trimmer to trim any excess trim from the ends and edges. Finally, lightly sand the edges so that the trim is smooth and flat, flush with the wood surface.
Tips for Success
- Test the Iron Temperature: Always test the iron temperature on a scrap piece of trim to prevent scorching.
- Keep the Iron Moving: Keep moving the iron to heat evenly and avoid overheating any single area.
- Cooling: Allow the adhesive to cool and set completely before trimming for best results.
Troubleshooting Common Problems
Sometimes, woodworkers experience problems such as peeling or bubbling of trim. If you notice peeling, reheat or apply adhesive as needed and press firmly. For bubbling, gently heat the affected area and press down to expel any trapped air.
Follow this guide and you’ll be able to confidently apply veneer trim and achieve a top-notch finish every time. This not only increases the durability of your project, but also its beauty.
If you’re looking for high-quality, easy-to-apply authentic wood veneer edgebanding, we offer a wide selection from 5/8″ to 7″ wide with same-day shipping!


")
")
")


Leave a Reply